Introduction
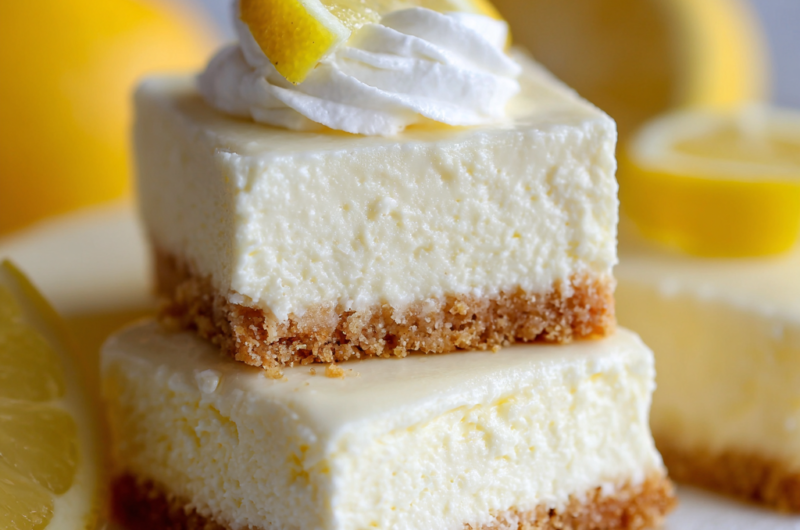
The bright, zesty flavor of lemons combined with the rich, creamy texture of cheesecake makes these bars a must-try dessert for any summer gathering. No-Bake Lemon Cheesecake Bars So Creamy and Tangy You'll Make Them All Summer Long are not just easy to whip up but will also provide a refreshing delight on hot days. With a buttery graham cracker crust and a luscious lemon filling, these bars promise to impress family and friends alike.
Imagine cutting into a perfectly chilled bar, the cool creaminess melting in your mouth, dancing with the tartness of fresh lemon juice. Every bite is a delicious reminder that summer is all about fresh flavors and easy treats. Whether enjoyed at a picnic or on the patio, these cheesecake bars are bound to become a seasonal favorite.
Ingredients
- 1 ½ cups crushed graham crackers
Provides a crunchy yet buttery base that complements the creamy filling. - ⅓ cup granulated sugar
Enhances the sweetness of the crust, balancing the tartness of the lemon filling. - ½ cup unsalted butter, melted
Acts as a binding agent for the crust, contributing richness and flavor. - 16 oz cream cheese, softened
The star ingredient, creating a rich and velvety texture for the filling. - 1 cup powdered sugar
Adds a smooth sweetness to the filling, ensuring it’s not overly tangy. - ½ cup fresh lemon juice
The source of zest and tanginess, providing a refreshing flavor profile. - 1 tablespoon lemon zest
Enhances the lemony aroma and gives an extra punch of citrus flavor. - 1 teaspoon vanilla extract
Adds depth and balances the flavors, enriching the overall taste. - 1 cup whipped cream
Lightens the filling, making it airy and delightful, perfect for summer.
Directions & Preparation
Step 1: Prepare the crust by combining the crushed graham crackers, granulated sugar, and melted butter in a mixing bowl.
As you mix, the aroma of buttery graham crackers fills the air. Press this mixture firmly into the bottom of a greased 9×9 inch baking pan. Use the back of a measuring cup for an even layer. Chill in the refrigerator while you prepare the filling.
Step 2: In a large mixing bowl, beat the softened cream cheese until smooth and creamy.
The sound of the mixer whirring indicates that the cream cheese is becoming luscious and velvety. Make sure there are no lumps; this will ensure a silky-smooth cheesecake filling.
Step 3: Gradually add the powdered sugar and mix until fully incorporated and fluffy.
The sweet scent of powdered sugar blends with the creamy cheese, creating a fragrant base for your filling. Be patient; mix until it's impeccably soft and well combined.
Step 4: Add the fresh lemon juice, lemon zest, and vanilla extract to the mixture and blend until well combined.
As the citrus fragrances waft through your kitchen, you’ll witness the filling turning a beautiful pale yellow. Scrape down the sides to ensure everything is mixed evenly.
Step 5: Gently fold in the whipped cream until just combined, maintaining its airy texture.
The contrast of the light, fluffy whipped cream against the rich filling creates a delightful variance in texture. This step is key to achieving that wonderfully creamy bar.
Step 6: Spread the filling evenly over the chilled crust and smooth the top with a spatula.
Watch as the filling spreads effortlessly, creating a tantalizingly smooth surface. It's like frosting a cake—only much easier—and your kitchen will smell divine.
Step 7: Cover with plastic wrap and chill in the refrigerator for at least 4 hours or until set.
This is the moment where patience is tested. As the cheesecake firms up, the anticipation builds; you can almost taste the tangy lemon and creamy goodness that awaits.
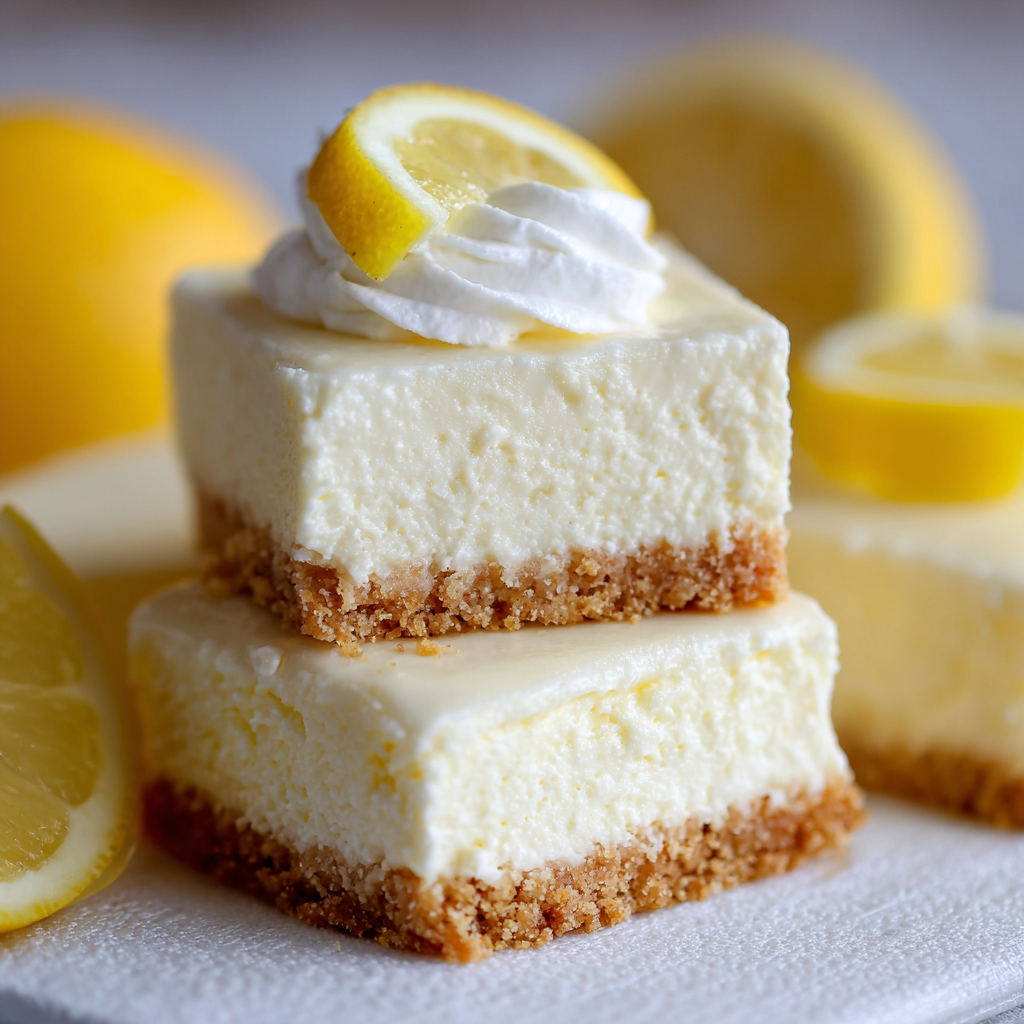
Step 8: Once set, cut into squares and serve chilled, garnished with extra lemon zest or whipped cream if desired.
The first cut is always the most satisfying, revealing layers of creamy delight atop a crumbly crust. Each bar looks like a little piece of sunshine, ready to brighten your day.

The Secret to the Perfect Grahams
Achieving the ideal graham cracker crust relies on the right balance of butter and sugar with the crumbs. Not too dry or overly wet, it should hold together beautifully while offering just the right amount of crunch. A good chill in the fridge helps it set, making this crust the strong yet tender foundation for your creamy lemony filling.
How Fresh Ingredients Elevate Flavor
Using fresh lemon juice and zest can’t be overstated when making these cheesecake bars. The pop of brightness and the invigorating scent transform the dessert from ordinary to extraordinary. Canned or bottled lemon juice lacks the vibrant quality and the aromatic zing that fresh lemons provide—a detail you'll surely appreciate with each tangy bite.
Chilling Time: Patience Pays Off
The chilling process is essential for the perfect texture of your bars. It’s during this time that all the flavors meld together, and the filling becomes luxuriously creamy. Upon cutting into a well-chilled bar, you’ll find a slice that’s stable while retaining that dreamily smooth mouthfeel, ready to melt in your mouth without any runny mess.
FAQs
What can I use instead of graham crackers for the crust?
You can substitute crushed digestive biscuits or vanilla wafers for an equally delicious crust.
Can I use packaged whipped topping instead of whipping my own cream?
Yes, pre-made whipped topping works just fine; it saves time and still provides a light texture.
What if my cheesecake doesn't set properly?
If the bars are too soft after the chilling period, they may need more time in the fridge. Make sure to chill them for at least 4 hours before slicing.
Can this recipe be doubled for a larger gathering?
Absolutely! Just use a larger baking dish and adjust chilling time as needed to ensure they set properly.
Can I add a fruit topping to these cheesecake bars?
Certainly! Fresh berries or a drizzle of fruit coulis complements the tangy flavors beautifully.
What is the best way to cut these bars for serving?
To get clean cuts, dip a sharp knife into hot water, wipe it dry, and slice through the bars. This will give you neat edges.
Conclusion
So, as summer approaches and the days grow longer, let these No-Bake Lemon Cheesecake Bars become your go-to treat. Their creamy consistency and tangy flavor make them simply irresistible, perfect for any occasion, whether a casual picnic or a festive gathering.
Give this recipe a try today, and you're bound to have your friends and family clamoring for seconds. As you enjoy every delicious bite, remember—this is not just dessert; it's a refreshing kiss of summer encapsulated in every square.
Recipe Card
No-Bake Lemon Cheesecake Bars So Creamy and Tangy You'll Make Them All Summer Long
Ingredients
Method
- Prepare the crust by combining the crushed graham crackers, granulated sugar, and melted butter in a mixing bowl.
- In a large mixing bowl, beat the softened cream cheese until smooth and creamy.
- Gradually add the powdered sugar and mix until fully incorporated and fluffy.
- Add the fresh lemon juice, lemon zest, and vanilla extract to the mixture and blend until well combined.
- Gently fold in the whipped cream until just combined, maintaining its airy texture.
- Spread the filling evenly over the chilled crust and smooth the top with a spatula.
- Cover with plastic wrap and chill in the refrigerator for at least 4 hours or until set.
- Once set, cut into squares and serve chilled, garnished with extra lemon zest or whipped cream if desired.
Notes
Notes
Additional serving suggestions: pair with a crisp salad, garlic bread, or roasted seasonal vegetables for balance.
For make-ahead, prep components separately and assemble just before heating to preserve texture.
Taste and adjust with acid (lemon/vinegar) and salt right at the end to wake up flavors.