Introduction
The Red White and Blue Flag Cake is a stunning dessert that brings a festive flair to any occasion. Bursting with flavor and colorful layers, it’s more than just a dessert; it's a statement piece for your gatherings, especially during patriotic celebrations.
This cake combines the flavors of rich vanilla and fresh berries, embodying summer’s essence. Whether you're hosting a Fourth of July barbecue or a summer picnic, this cake is sure to impress your guests and evoke a sense of joy and togetherness.
Ingredients
- 2 cups all-purpose flour
All-purpose flour provides the structure necessary for the cake. It allows the cake to rise and maintain its shape while creating a tender crumb, leading to a moist and appealing texture. - 1 ½ cups granulated sugar
Granulated sugar not only sweetens the cake but also contributes to its texture. It helps to create a light and fluffy cake by incorporating air during the mixing process. - ½ cup unsalted butter, softened
Butter enriches the flavor of the cake and adds moisture. Its fat content also aids in creating a tender crumb while providing a delicious buttery flavor that complements the other ingredients. - 1 cup buttermilk
Buttermilk adds moisture and tanginess, which enhances the flavor of the cake. Its acidity reacts with the baking soda, creating a light and airy texture. - 3 large eggs
Eggs are essential for binding the ingredients together and providing structure. They also help to retain moisture and contribute to the cake's rich flavor. - 2 teaspoons baking powder
Baking powder is a leavening agent that helps the cake rise. It produces carbon dioxide when moistened and heated, resulting in a fluffy texture. - 1 teaspoon vanilla extract
Vanilla extract enhances the overall flavor of the cake, adding warmth and depth. It complements the sweetness and balances the other flavors. - 1 cup fresh strawberries, halved
Strawberries add vibrant color and natural sweetness to the cake, providing fresh and fruity notes. They also contribute moisture and texture. - 1 cup fresh blueberries
Blueberries bring a burst of flavor and a pop of color, enhancing both the aesthetic and taste of the cake. Their natural juiciness adds additional moisture. - 1 cup whipped cream (for decoration)
Whipped cream provides a light and airy topping that adds a touch of sweetness without overpowering the cake. It also enhances the visual appeal with its fluffy texture.
Directions & Preparation
Step 1: Preheat your oven to 350°F (175°C).
Preheating the oven is crucial for even baking. The correct temperature ensures that the cake rises properly and bakes uniformly, preventing it from becoming dense or gummy.
Step 2: Grease and flour three 9-inch round cake pans.
This step prevents the cake from sticking, allowing for a smooth release from the pans when baked. Proper greasing also aids in achieving an even, beautiful crust on the cake.
Step 3: In a large mixing bowl, cream together the softened butter and sugar.
Creaming butter and sugar aerates the mixture, which contributes to the cake's light and fluffy texture. This process incorporates air, creating small bubbles that will expand as the cake bakes.
Step 4: Add the eggs one at a time, mixing well after each addition.
Incorporating the eggs individually allows for better emulsification, ensuring a consistent batter texture. This step helps maintain the cake's structure and contributes to a moist crumb.
Step 5: Stir in the buttermilk and vanilla extract until combined.
Mixing in the wet ingredients enhances flavor while ensuring the batter remains tender. The acidity from the buttermilk also activates the baking powder for optimal rise.
Step 6: In a separate bowl, whisk together the flour and baking powder.
Whisking the dry ingredients separately allows for even distribution of the leavening agent. This step reduces clumping, ensuring a smooth batter and consistent texture in the final cake.
Step 7: Gradually add the dry ingredients to the wet mixture, mixing until just combined.
This gentle mixing prevents overworking the batter, which can lead to a tough cake. Carefully combining the ingredients ensures a light and tender crumb without gluten overdevelopment.
Step 8: Divide the batter evenly among the prepared pans.
Evenly dividing the batter ensures that all layers bake uniformly, providing a balanced cake height. This step helps achieve the signature layered appearance of the final dessert.
Step 9: Bake for 25-30 minutes or until a toothpick inserted in the center comes out clean.
Baking times can vary based on your oven and pan material, so checking with a toothpick is a reliable method to determine doneness. Overbaking can lead to a dry cake, so watch carefully.
Step 10: Allow the cakes to cool in the pans for 10 minutes before transferring to a wire rack.
Cooling the cakes slightly in the pans allows them to firm up, making them easier to remove. Transferring to a wire rack ensures proper airflow, preventing sogginess after baking.
Step 11: Once cooled, frost between the layers and on the top with whipped cream.
Frosting with whipped cream adds not only flavor but also a rich texture contrast to the sponge. This aesthetic layer enhances presentation and ties together the various components of the cake.
Step 12: Decorate the top with halved strawberries and blueberries to create a flag design.
Arranging the fruit in a flag pattern not only makes for a beautiful presentation but showcases the fresh flavors of the berries. This step is the finishing touch that emphasizes the festive spirit of the cake.
Step 13: Chill the cake for at least 30 minutes before serving.
Chilling the cake allows the whipped cream to firm up and hold its shape while melding the flavors together. This resting period enhances the overall taste and texture, making each bite delightful.

A Creative Spin: Flag Cake Variations
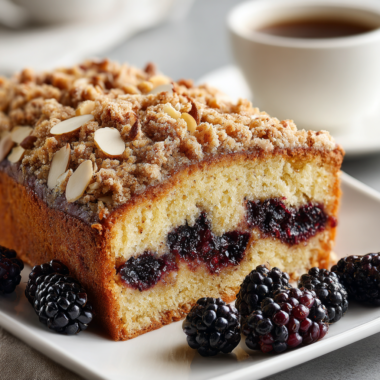
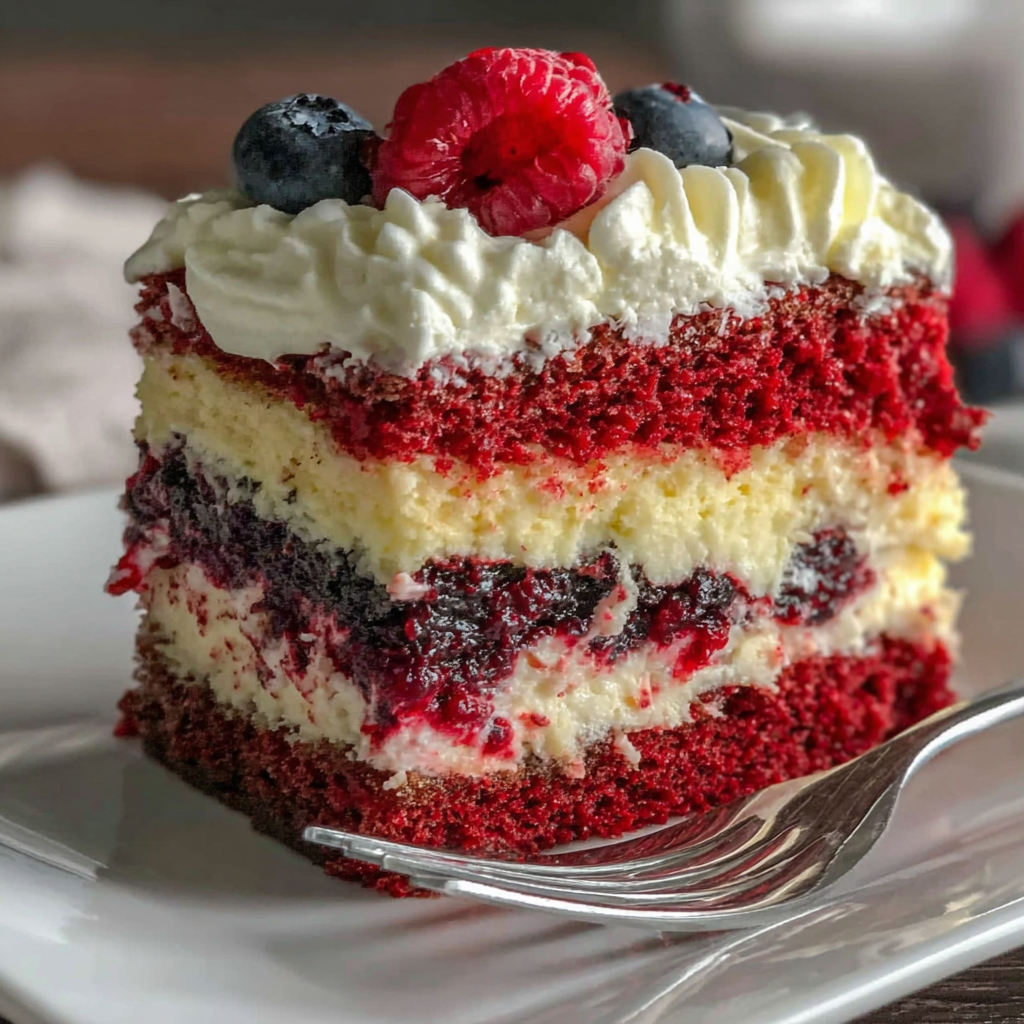
While this Red White and Blue Flag Cake is a classic, feel free to experiment with different flavors and fruits. Incorporate other berries like raspberries or blackberries, or switch the vanilla for almond extract for a nutty twist. Adjusting the flavors can personalize the cake to your taste or the preferences of your guests.
Serving Suggestions for Maximum Impact
Presentation is key, so consider serving the cake on a festive platter that matches the occasion. Pair it with a scoop of vanilla ice cream for a delightful balance of warmth and cold. Don't forget to have extra berries or a berry compote on the side, inviting guests to customize their slices.
Tips for Perfecting Your Cake Layers
To achieve even layers, you can weigh your batter before dividing it among the pans. This technique helps ensure consistent layer sizes and baking times. Additionally, using parchment paper in the bottom of the pans can further prevent sticking and promote even baking, giving you a professional finish.
FAQs
What if my cake layers are uneven?
If your cake layers turn out uneven, use a serrated knife to level the tops of each layer. This ensures a stable stack and an aesthetically pleasing presentation.
Can I use different fruits?
Absolutely! While strawberries and blueberries are traditional, feel free to swap in your favorite fruits to suit the season or your taste preferences.
What if my whipped cream is too soft?
If your whipped cream is too soft, try chilling the bowl and beaters before whipping. Additionally, consider stabilizing the whipped cream with confectioners' sugar or cornstarch for better texture.
How can I enhance the flavor of the cake?
Consider adding citrus zest to the batter, like lemon or orange, which pairs beautifully with the berries and can elevate the overall taste profile.
What if my cake is too dense?
If your cake turns out too dense, ensure that you measured your flour accurately and didn’t overmix the batter. Proper aeration during the creaming stage is also essential for a light texture.
Can I replace buttermilk with regular milk?
You can use regular milk, but for a similar effect, add a tablespoon of vinegar or lemon juice to one cup of milk and let it sit for a few minutes to sour it slightly.
Conclusion
The Red White and Blue Flag Cake is a celebration of flavor, color, and creativity, perfect for making lasting memories with family and friends. Each slice not only delivers deliciousness but also is visually stunning, embodying the spirit of togetherness during special occasions.
By planning your ingredients carefully and following these steps, you’ll craft a dessert that is as delightful to eat as it is to behold. Enjoy the process and embrace the joy that comes with sharing your creation.
Recipe Card
Celebrate with a Red White and Blue Flag Cake
Ingredients
Method
- Preheat your oven to 350°F (175°C).
- Grease and flour three 9-inch round cake pans.
- In a large mixing bowl, cream together the softened butter and sugar.
- Add the eggs one at a time, mixing well after each addition.
- Stir in the buttermilk and vanilla extract until combined.
- In a separate bowl, whisk together the flour and baking powder.
- Gradually add the dry ingredients to the wet mixture, mixing until just combined.
- Divide the batter evenly among the prepared pans.
- Bake for 25-30 minutes or until a toothpick inserted in the center comes out clean.
- Allow the cakes to cool in the pans for 10 minutes before transferring to a wire rack.
- Once cooled, frost between the layers and on the top with whipped cream.
- Decorate the top with halved strawberries and blueberries to create a flag design.
- Chill the cake for at least 30 minutes before serving.
Notes
Additional serving suggestions: pair with a crisp salad, garlic bread, or roasted seasonal vegetables for balance.
For make-ahead, prep components separately and assemble just before heating to preserve texture.
Taste and adjust with acid (lemon/vinegar) and salt right at the end to wake up flavors.