Introduction
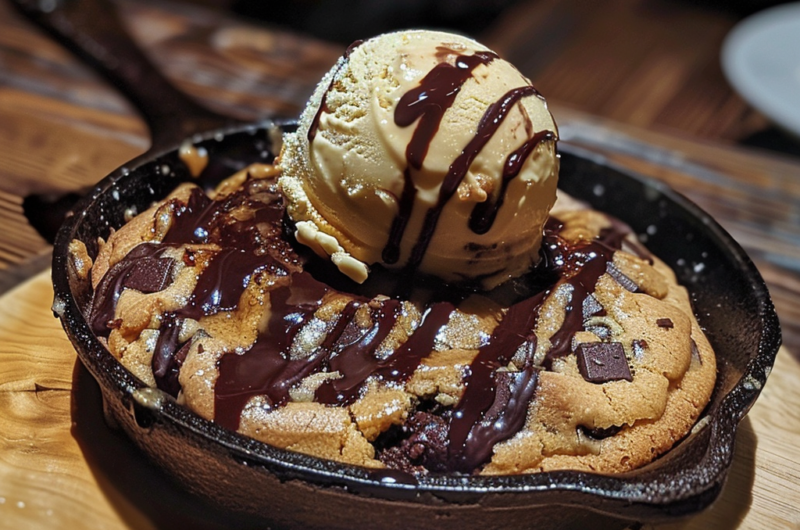
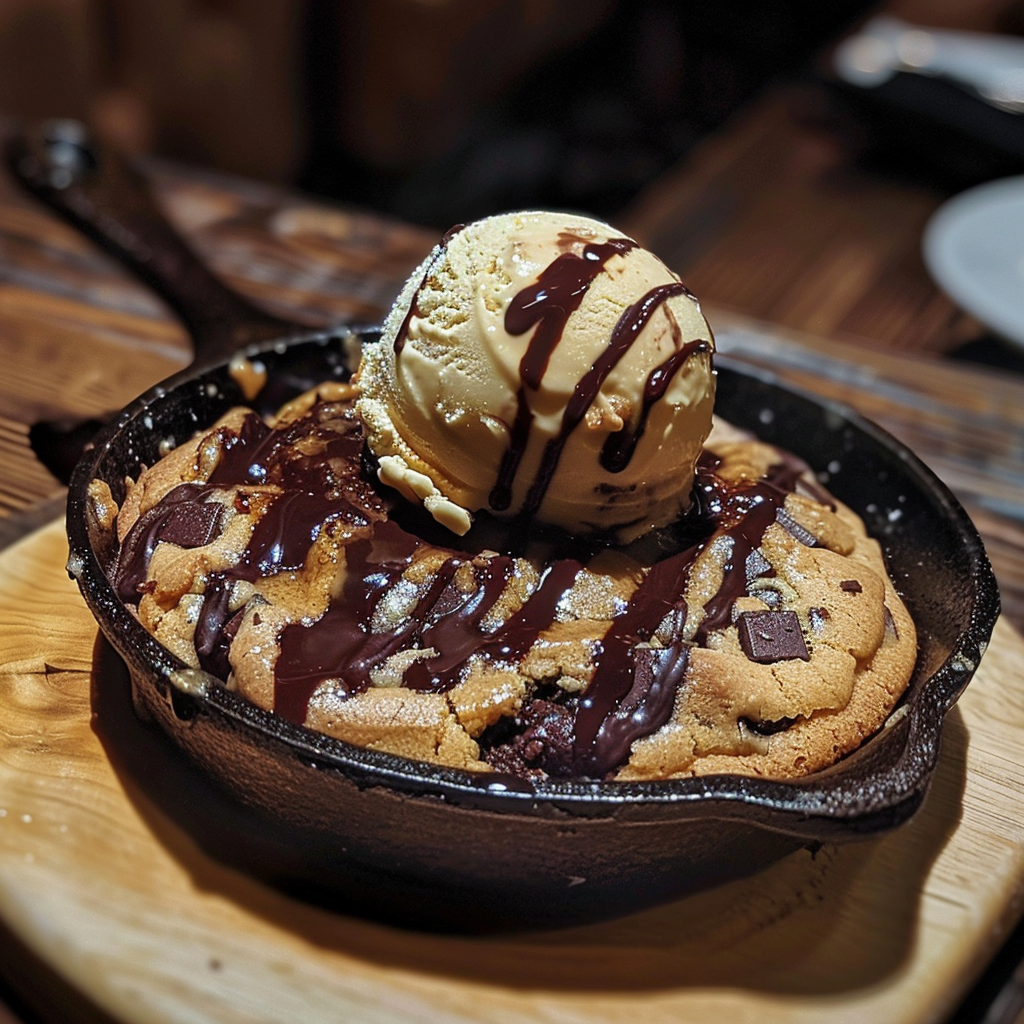
Imagine a warm, gooey cookie, straight from the oven, begging to be dug into right from the skillet. The rich aroma of buttery dough mingling with melting chocolate fills your kitchen, wrapping you in comfort. This is the magic of a Homemade Chocolate Chip Cookie Skillet, where classic flavors meet indulgent texture in a way that will make you want to prepare it today.
The first bite is a revelation—a crisp outer layer yielding to a molten center of chocolate goodness. Perfectly paired with a scoop of vanilla ice cream, this dessert transforms any moment into a celebration. It’s easy, it’s quick, and it’s everything you’ve ever wanted in a dessert, all made in one pan!
Ingredients
- 1 cup unsalted butter
Provides richness and moisture to the dough, while making the cookie tender and flavorful. - 3/4 cup brown sugar
Creates a deep, caramel-like sweetness and enhances the chewiness of the cookie. - 3/4 cup granulated sugar
Balances the flavors and contributes to the overall sweetness. - 2 large eggs
Acts as a binder, giving the cookie its structure and richness. - 1 teaspoon vanilla extract
Infuses a warm flavor that complements chocolate beautifully. - 2 1/4 cups all-purpose flour
The foundation of the cookie, providing necessary structure. - 1/2 teaspoon baking soda
Helps the cookies rise and achieve that classic soft-baked texture. - 1 teaspoon salt
Enhances the sweet flavors and balances the overall taste. - 2 cups semi-sweet chocolate chips
Adds bursts of chocolatey goodness in every bite, melting beautifully into the batter.
Directions & Preparation
Step 1: Preheat your oven to 350°F (175°C).
Start by preheating your oven to create the perfect environment for baking. This ensures that your cookie skillet will bake evenly, allowing the edges to become golden brown while keeping the center delectably soft.
Step 2: In a large skillet, melt the butter over medium heat.
As the butter melts, it releases a nutty fragrance that fills your kitchen with warmth. Stir gently to ensure it doesn’t brown too much—it should just be liquid and shimmering, ready to mix with sugar for that signature caramel flavor.
Step 3: Add the sugars and mix until combined.
The moment the sugars hit the melted butter, they begin to dissolve and create a glossy mixture. Use a spatula to stir until the mixture is smooth, allowing the sweetness to blend beautifully with the rich butter.
Step 4: Remove from heat and whisk in the eggs and vanilla extract.
This step adds an inviting aroma to your batter. The eggs will create a creamy texture while the vanilla adds depth. Make sure everything is mixed thoroughly before moving onto the dry ingredients.
Step 5: In a separate bowl, whisk together the flour, baking soda, and salt.
This step ensures even distribution of the leavening agent and salt throughout the flour, which is crucial for achieving the desired texture in your cookie skillet. The mingling of dry ingredients will help create a perfect dough consistency.
Step 6: Gradually fold in the dry ingredients to the wet mixture.
Using a spatula, gently incorporate the flour mixture into the wet ingredients. The dough will be thick and dense, and stirring just until combined is key to keeping your cookie tender and not overworked.
Step 7: Fold in the chocolate chips liberally.
The chocolate chips will melt slightly as they mix into the dough, ensuring rich pockets of chocolate in every bite. Don’t be shy—feel free to add extra chips for an irresistible treat!
Step 8: Transfer the dough back to the skillet, spreading it evenly.
Make sure to press the dough to the edges of the skillet for an even bake. Your creation should take center stage, ready to rise and transform in the oven into a beautiful golden cookie.
Step 9: Bake for 25-30 minutes, until golden brown.
As the cookie skillet bakes, your kitchen will be filled with a tempting aroma, hinting at the delectable dessert soon to emerge. Bake until the edges are golden while the center remains slightly soft—it'll continue cooking once you take it out.
Step 10: Allow to cool slightly before serving.
Letting the skillet cool for just a few minutes allows the cookie to set up a bit. This waiting time builds anticipation, as the tantalizing aroma fills the air, making it difficult to resist diving in right away.

The Art of Using a Skillet for Cookie Baking
Baking your cookie in a skillet yields an incredible contrast in texture. The direct heat from the cast iron creates a beautifully crisp exterior while leaving the inside wonderfully gooey. This method allows for easy serving and keeps the cookie warm longer—a perfect centerpiece for a cozy dessert gathering.
Variations to Elevate Your Cookie Skillet
Feel free to shake things up! Consider adding nuts for an added crunch or experimenting with different types of chocolate chips. Dark chocolate, white chocolate, or even caramel bits can create mouthwatering flavor combinations that keep the experience exciting and endlessly customizable.
Pairing Suggestions to Enhance the Experience
This cookie skillet is perfect on its own, but pairing it with a scoop of vanilla bean ice cream takes it to another level. The slow melting of ice cream over the warm cookie creates a decadent synergy of flavors and textures that is utterly irresistible, making every bite a celebration.
FAQs
What if my cookie skillet turns out too crumbly?
This could be a result of over-mixing. Ensure you combine the dough just until the ingredients are incorporated to maintain moisture.
Can I make this skillet cookie gluten-free?
Absolutely! Substitute all-purpose flour with a gluten-free blend to ensure a similar texture without gluten.
What if I don’t have a cast-iron skillet?
You can use any oven-safe skillet or baking dish, but remember to adjust your bake time accordingly.
How can I make this cookie skillet more chocolaty?
Simply increase the amount of chocolate chips or add a drizzle of chocolate sauce on top just before serving for extra decadence.
Can I add other mix-ins?
Yes! Add chopped nuts, dried fruit, or even marshmallows for a personalized twist.
What’s the best way to clean my skillet after baking?
Let it cool, then wipe it with a damp cloth or sponge. Avoid soaking to maintain the cast iron’s seasoning.
Can this recipe be doubled?
Yes! Just use a larger skillet or divide the dough between two skillets for a fun shared dessert.
What’s the secret to a gooey center?
Be careful not to over-bake. Remove the skillet when the edges are set but the center still looks slightly undercooked for that gooey texture.
Conclusion
The Homemade Chocolate Chip Cookie Skillet is not just a dessert; it’s an experience. Each mouthful transports you back to childhood memories, evoking warm feelings of comfort and joy. You’ll be amazed at how something so simple can bring everyone together, making any day feel special.
So, what are you waiting for? Gather your ingredients and create this treasure that will have everyone asking for seconds! Let the joy of baking fill your home today.
Recipe Card
Sizzling Homemade Chocolate Chip Cookie Skillet
Ingredients
Method
- Preheat your oven to 350°F (175°C).
- In a large skillet, melt the butter over medium heat.
- Add the sugars and mix until combined.
- Remove from heat and whisk in the eggs and vanilla extract.
- In a separate bowl, whisk together the flour, baking soda, and salt.
- Gradually fold in the dry ingredients to the wet mixture.
- Fold in the chocolate chips liberally.
- Transfer the dough back to the skillet, spreading it evenly.
- Bake for 25-30 minutes, until golden brown.
- Allow to cool slightly before serving.
Notes
Notes
Additional serving suggestions: pair with a crisp salad, garlic bread, or roasted seasonal vegetables for balance.
For make-ahead, prep components separately and assemble just before heating to preserve texture.
Taste and adjust with acid (lemon/vinegar) and salt right at the end to wake up flavors.